V42 Wind turbine bolt & joint integrity checks/correctives
Location
Cost Analysis
The
Scenario
Our
Analysis
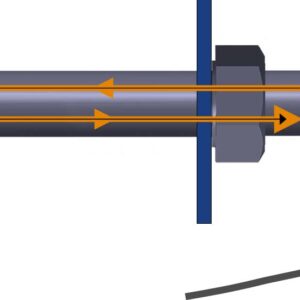
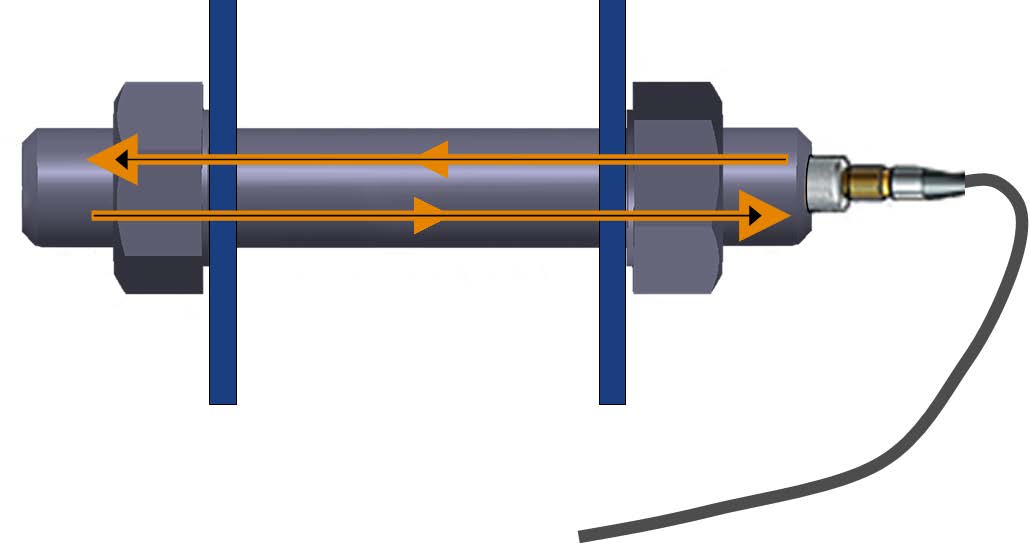
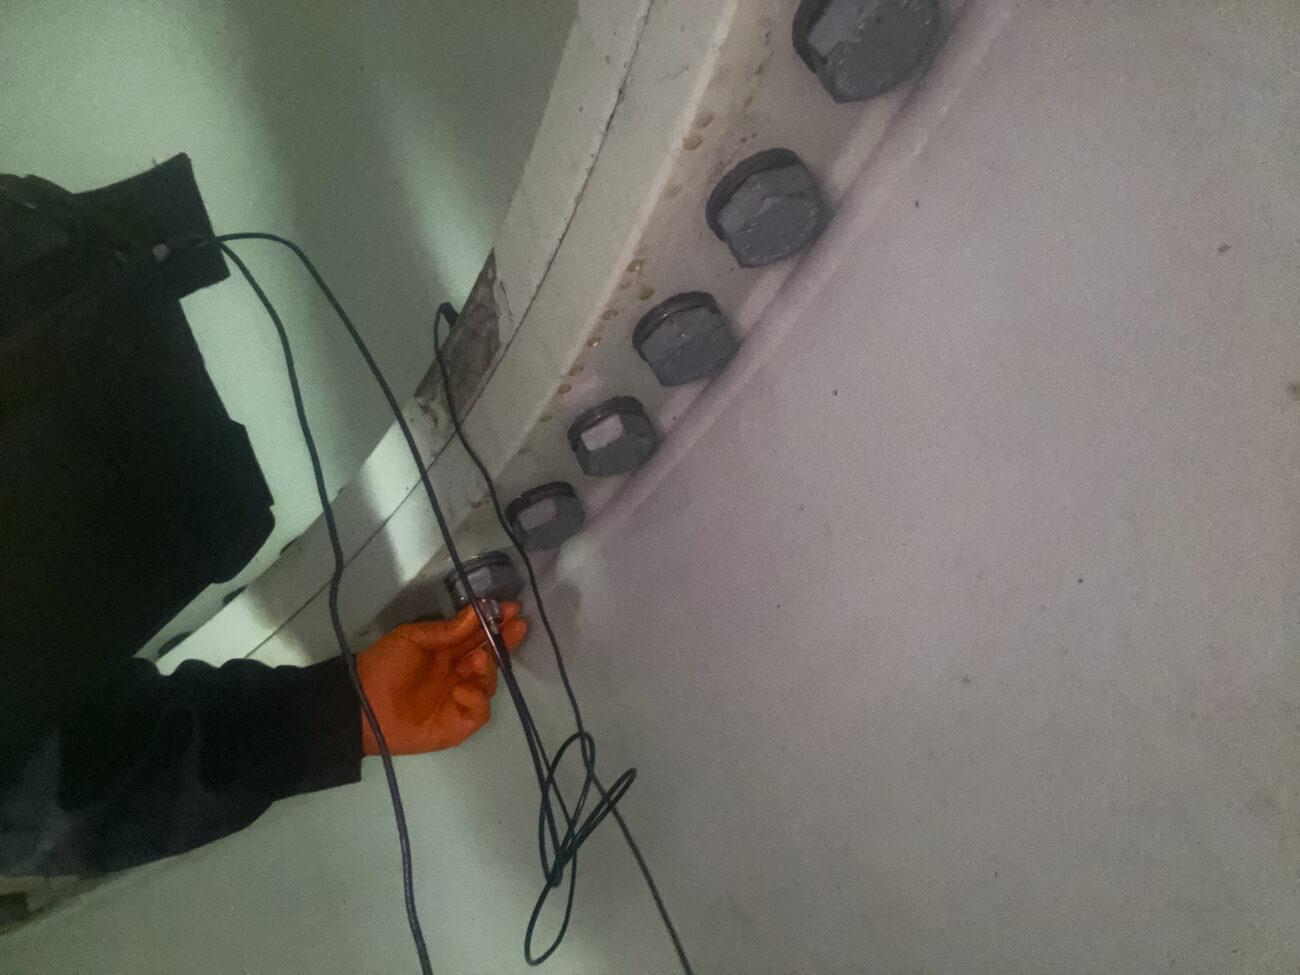
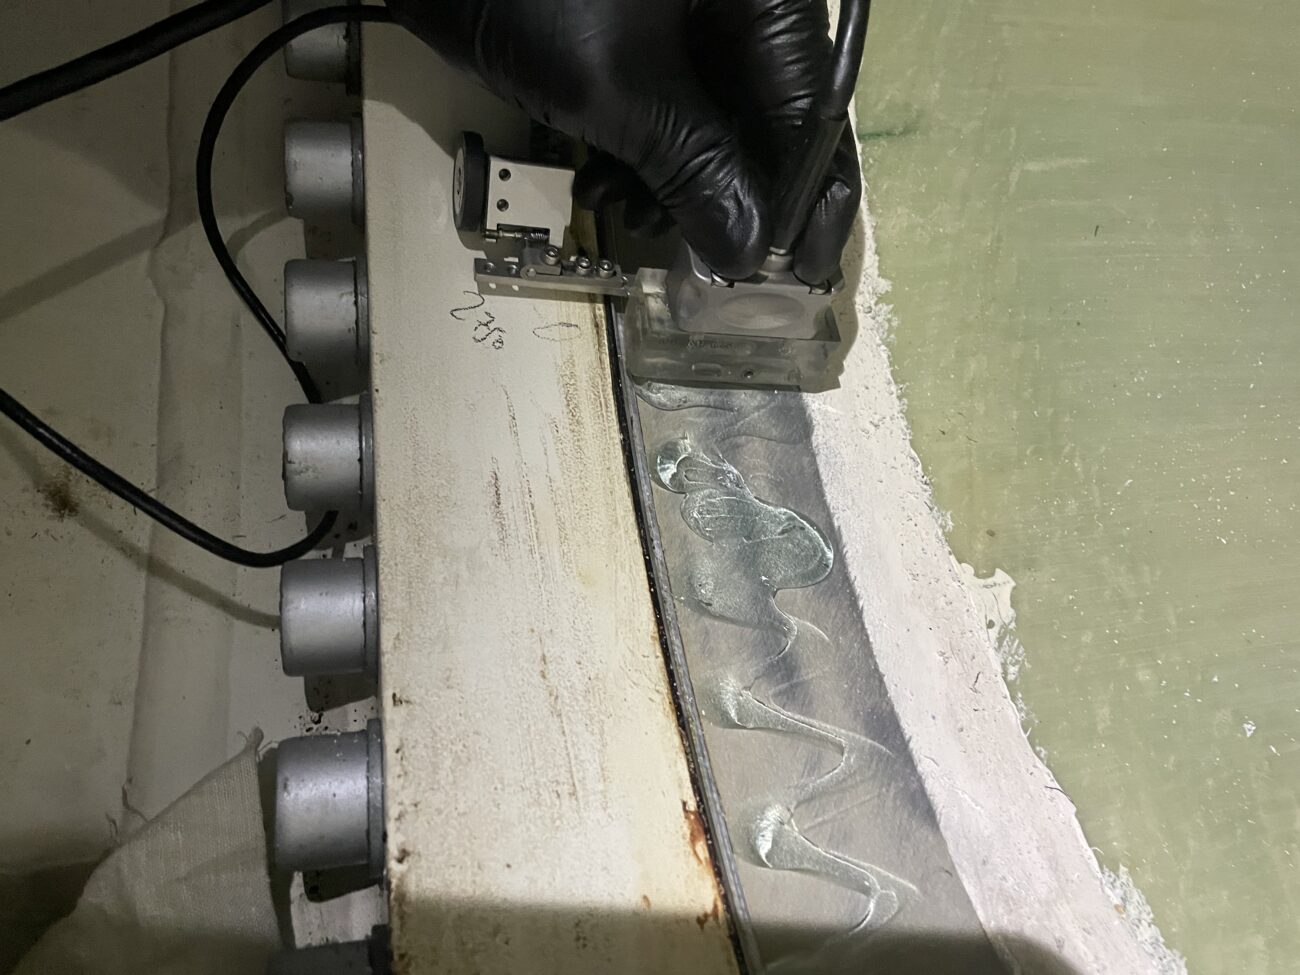
The bolt tension meter is used to measure the stretch (elongation, load, stress and %strain) of a fastener under tension. This is accomplished ultrasonically by sending an ultrasonic wave down the length of the fastener and accurately measuring the change in transit time between an unloaded versus loaded fastener/bolt and calculating a physical stretch. The objective for using ultrasonics, over conventional/mechanical methods is accuracy. Most conventional methods refer to a torque value which has limited accuracy due to the coefficient of friction. The coefficient of friction is difficult to determine, as it depends on the control and application of lubrication.
In critical bolted joints, torque control alone is often not accurate enough to provide a safe and effective bolted joint, 10-15% of the input torque actually stretches the bolt, the remaining torque is used to overcome friction between mating threads and friction under the bolt head or nut. Friction is dependent on variables such as lubricant, type, condition, surface roughness, plating and material, friction dominates the torque-tension relationship, even a slight variation in friction can lead to significant variation in bolt tension.
FACT: Accurately torqued bolted joints are not equivalent to accurately tensioned bolted joints.
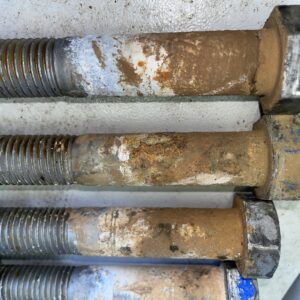
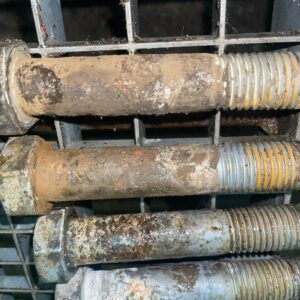
Results showed 42 joints found with non-uniform tension/clamping force, 8 joints found with predicted FOS (factor of safety) less than 1, 26 joints found with predicted FOS between 1 – 1.5 and 1 defective (abnormal) bolt found, noted the defective bolt was sufficiently torqued and when dissected for further analysis was found to have a hairline crack inside the bolt head.
Cost analysis would indicate if 1 out of the 8 turbines with a joint found having a predicted FOS below 1 were to have a catastrophic failure, would certainly remove the turbine from operation for the remainder of its remaining useful life. A further 5 years remaining could result in > £1 Million net revenue loss for the client.
Our
Solution
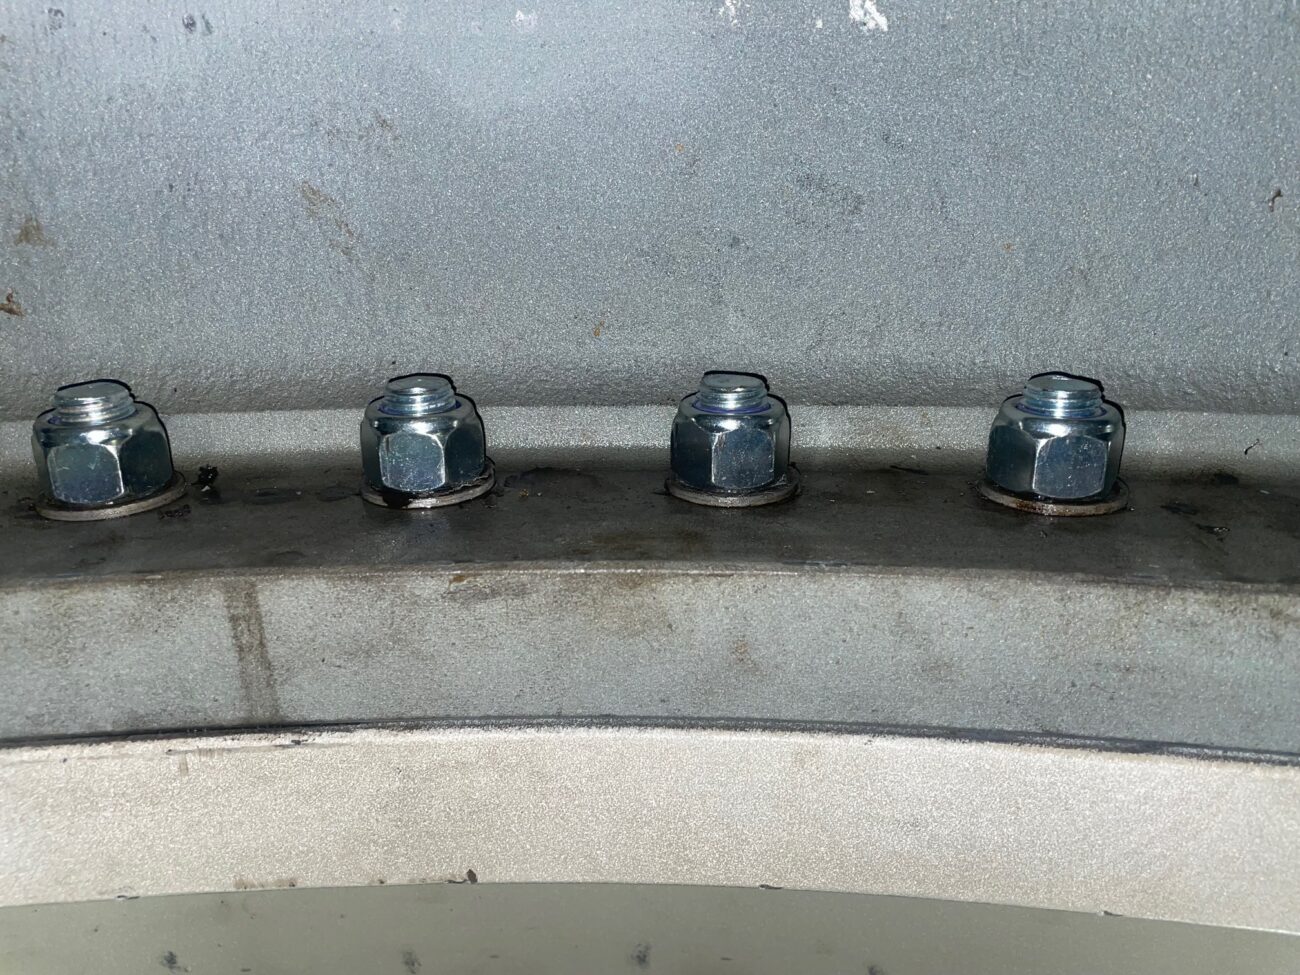
Bolt/joint integrity correctives were advised to include bolt replacement (8.8 exchanged to 10.9 as necessary), re-load of uniform joint clamping force and predicted FOS (factor of safety) 1.5 minimum as per general design specifications. Clamping force is a measure of the force applied to an object that is used to oppose separating forces that are trying to move that object from its current location. To determine clamping force, first determine a factor of safety (how much more than the exact required amount you want to design for). In general, a factor of safety of 1.5 - 2 is recommended for use of reliable materials where loading and environmental conditions are not severe.
GEOX Engineering Ltd completed all the bespoke remedial work for the client during periods of low/no wind (minimal loss of production), the turbine continued in operation between the initial inspection and corrective works also (no loss of production). Our bespoke remedial work included RAMS/AWP documentation, bespoke analysis/test methods, insurance cover (at given heights), specialist equipment/tooling, AT/CT provision, new 10.9 tensile strength bolt provision,
